Introducing: Document Storage and Document Signing
Ensure every document is sent, on time and error-free
June 30, 2025
TL;DR
We’re excited to announce the launch of Document Storage and Document Signing in Optix—one of our most requested features to date!
This powerful new functionality enables you to collect and track signed agreements directly within your Optix dashboard, helping reduce risk and streamline operations.
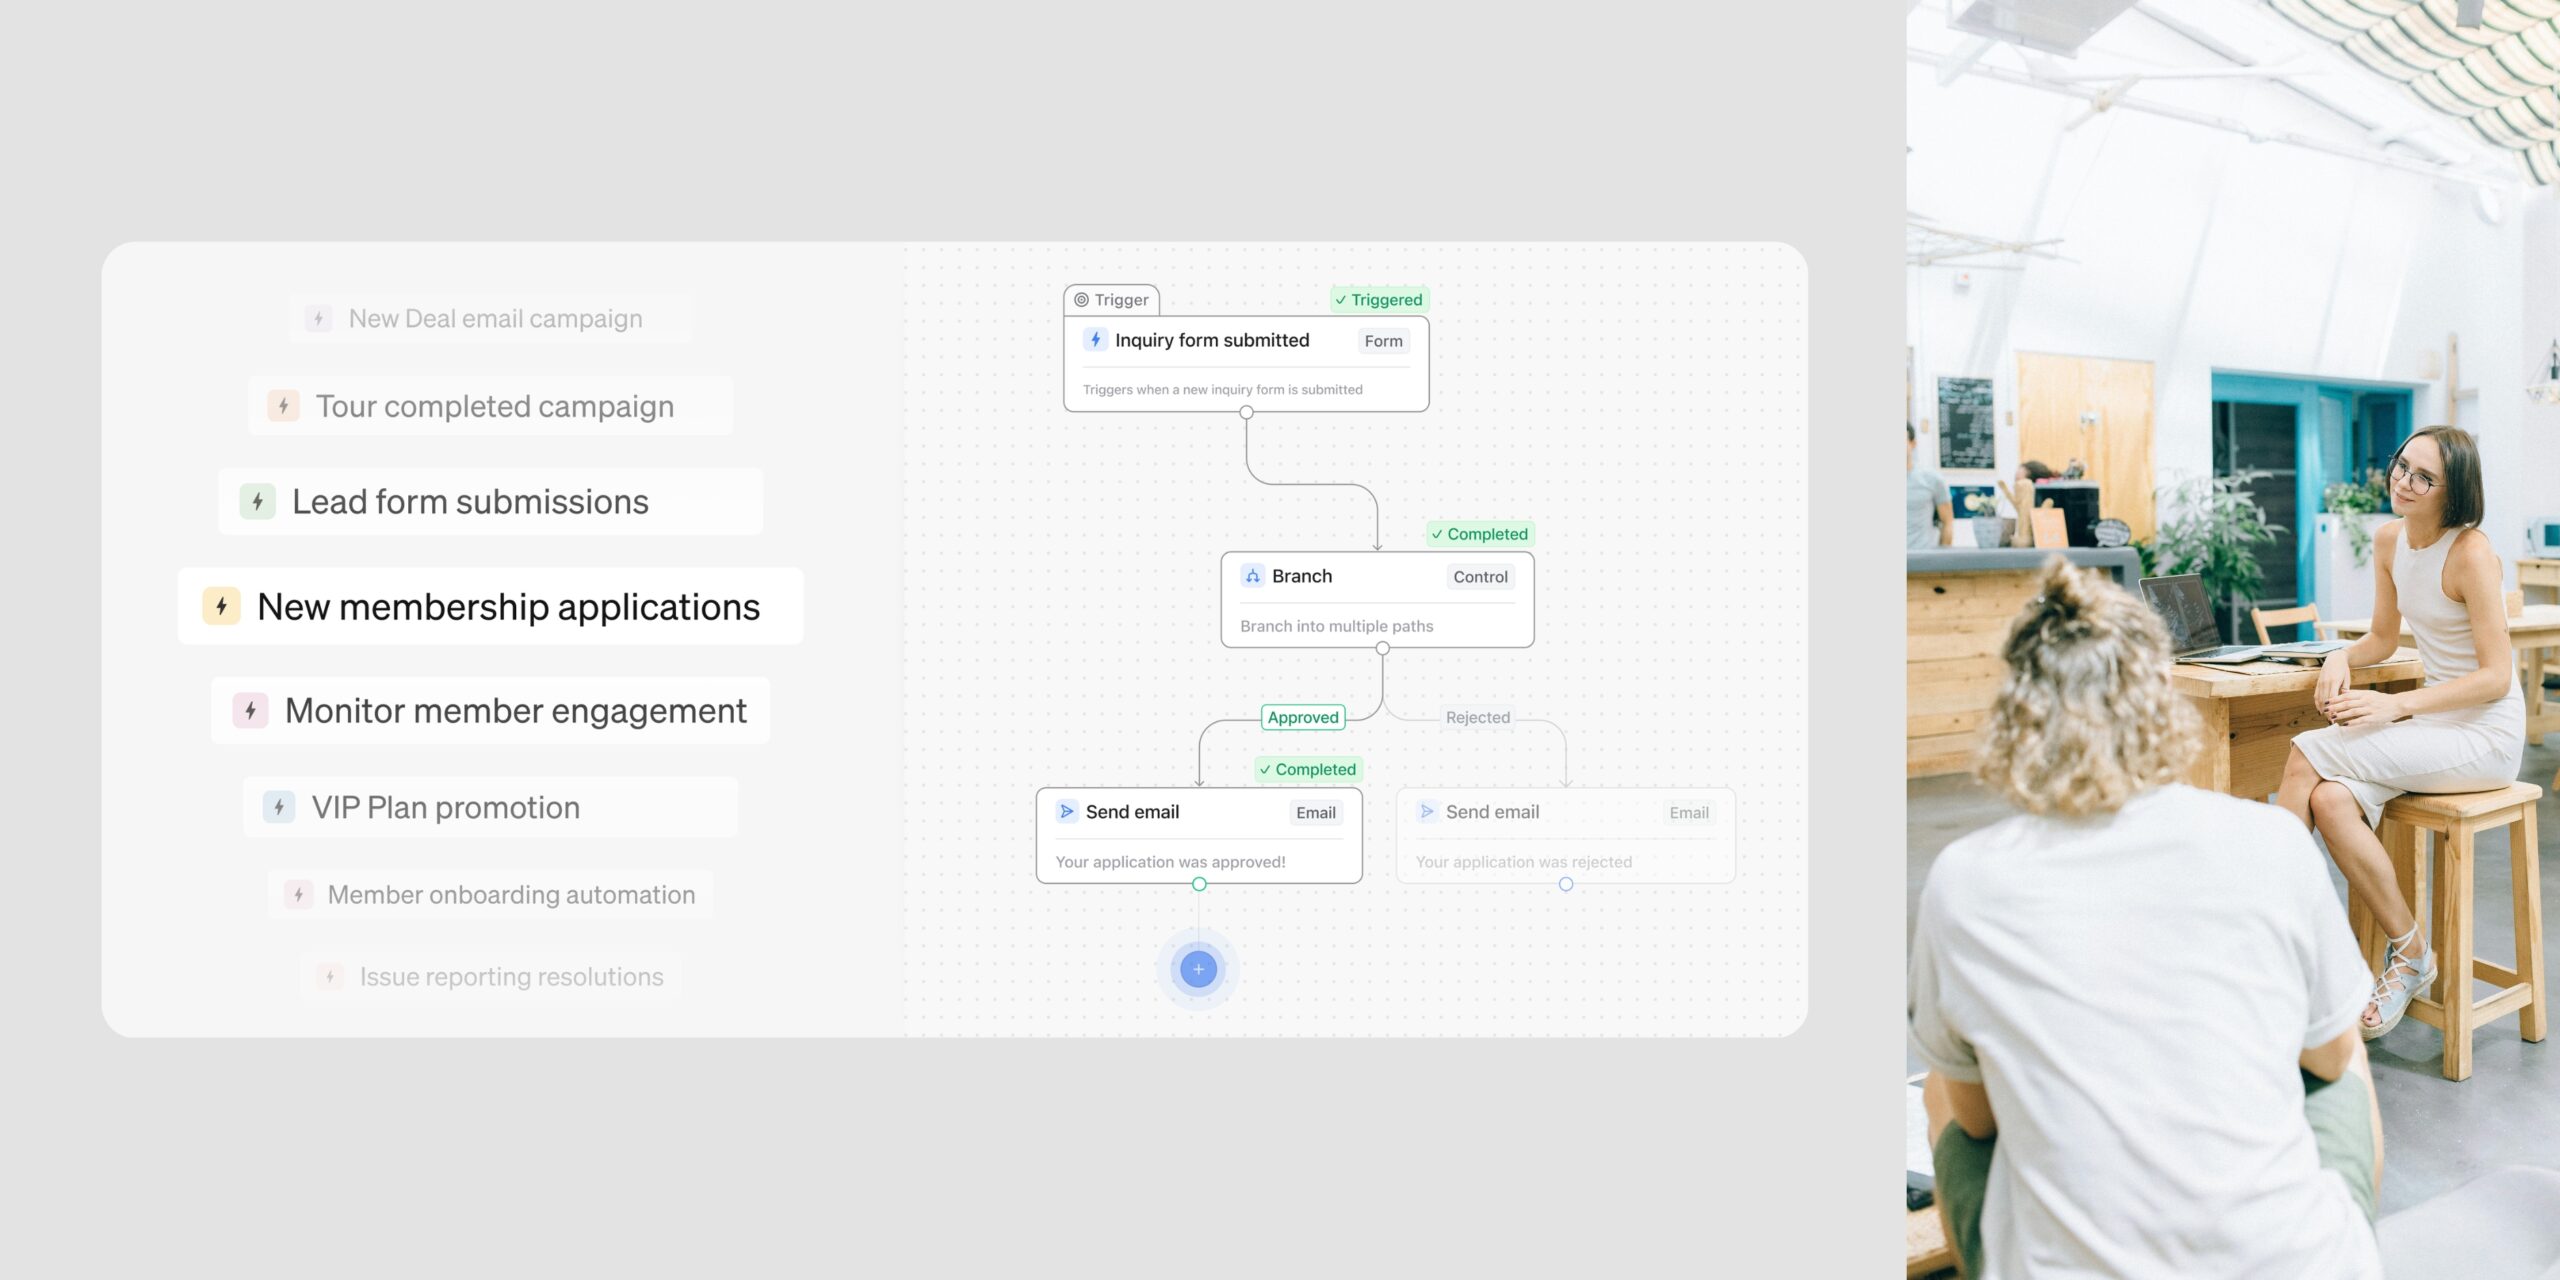
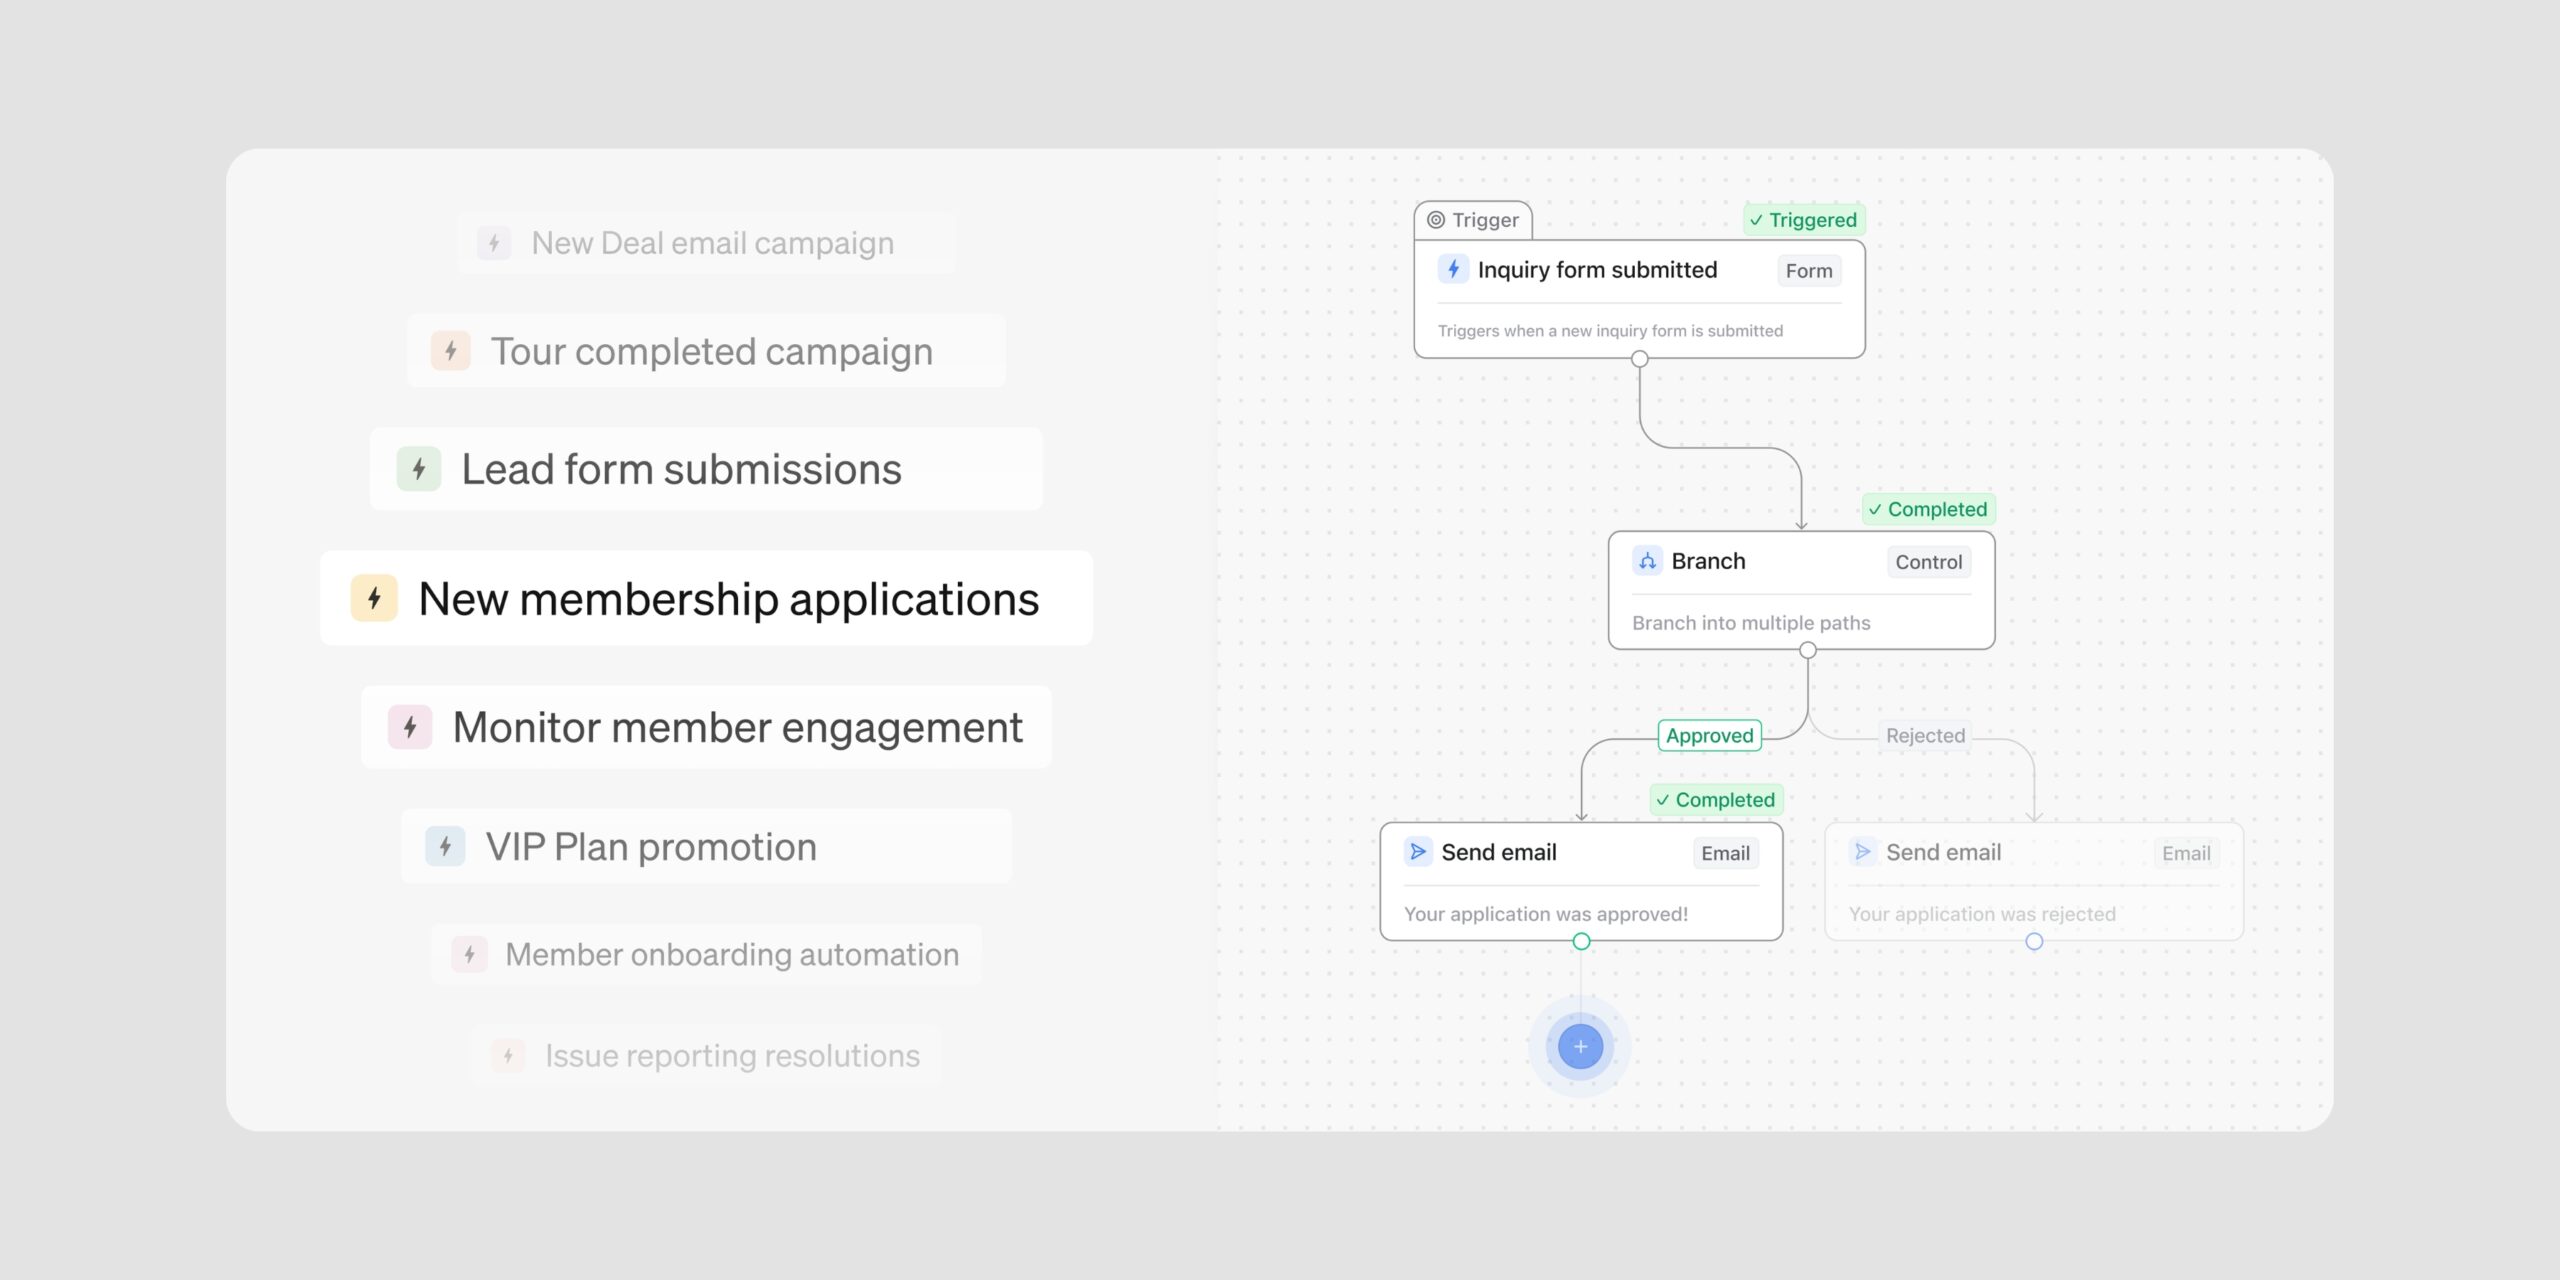
Whether you’re signing private office agreements, managing event space bookings, or onboarding new members, you can now automate the entire process using Automations, ensuring the right document goes to the right person at the right time.
In this article, we’ll go through what Document Storage and Document Signing are, how they work in Optix, and how you can get started with them today!
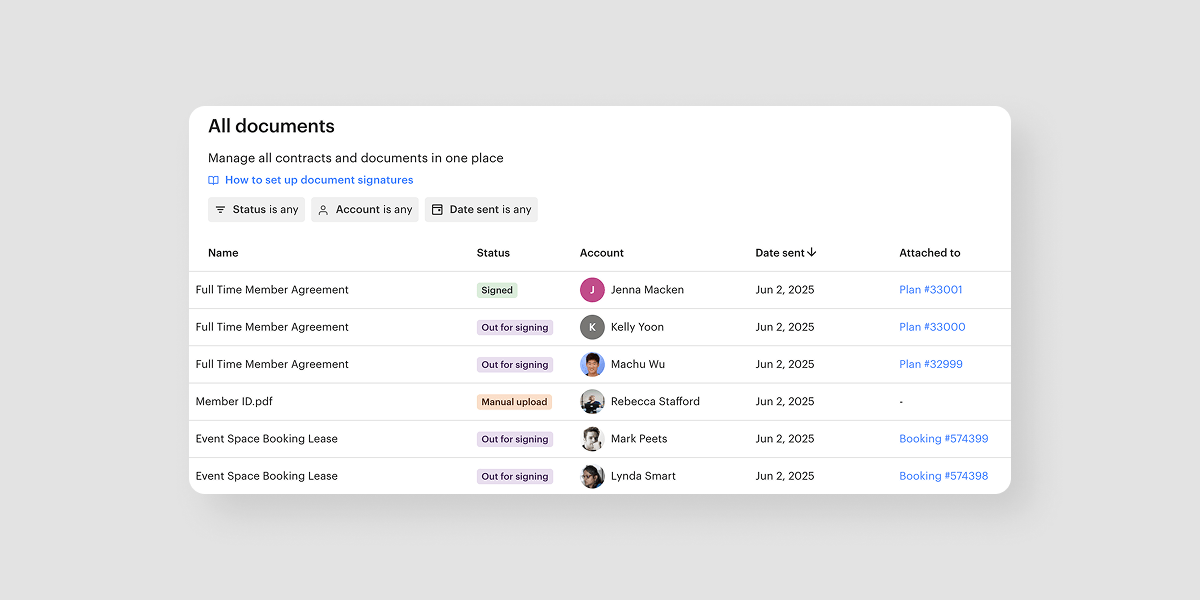
You’ll see the status of the document as well to help you quickly see at a glance all of the documents that are out for signing or have already been signed. With Document storage you can:
You can upload a document to Optix in three different ways:
All of these documents are then stored in the Documents tab of your admin dashboard.
Learn more about Document Storage in Optix.
Document Signing is a new functionality in Optix that allows you to send documents to users for signing. This can be done by either manually uploading the document to Optix and sending it to be signed ad hoc or you can automatically trigger a document for signing with Automations.
Let’s say you want to send a document for signing every time someone purchases a new membership. With this feature, you can set up an automation so that if a new plan is added to a user’s account, then a document is automatically sent to that user to sign.
With Document Signing, you can:
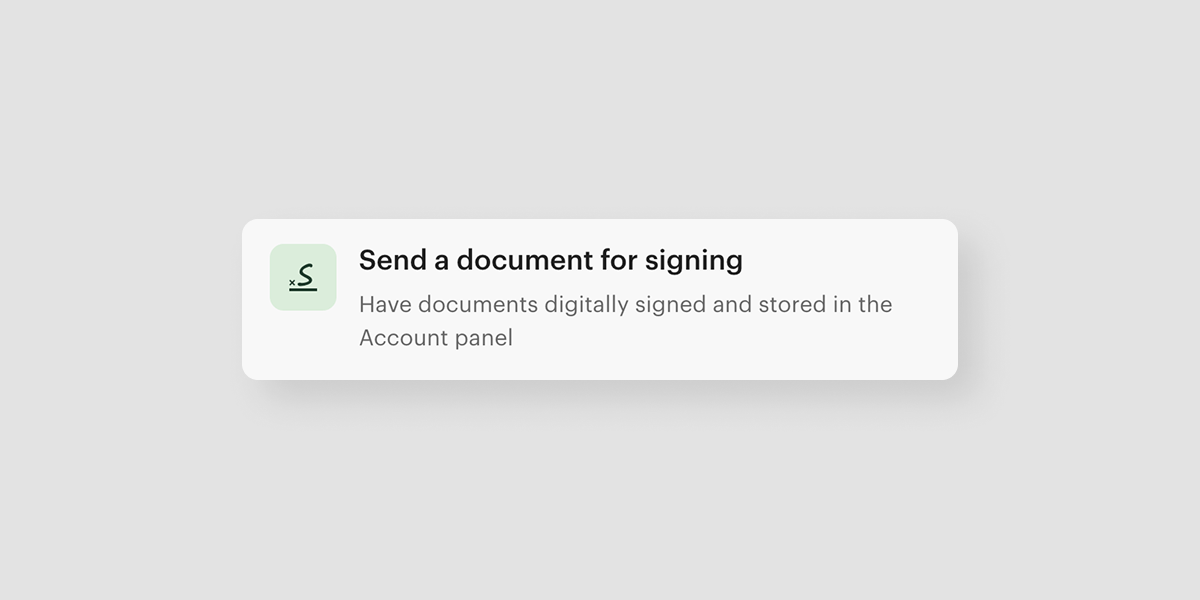
You can send a document for signing manually in Optix or via Automations.
Once the automation is live, any user who matches the enrollment criteria will automatically receive a document for signing. Check out this 2 minute video to learn how to send a document for signing in Optix.
If you’re an Optix client, log into your admin dashboard and enable the Documents feature in your settings. Documents is free and available to all Optix admin. Sending documents for signatures will incur a $1 charge for every signed document.
Not an Optix client? Reach out to a member of our team today so you can experience document signing for yourself!